This walkthrough shows you how to create masked data entry in WebInput.
During this walkthrough, you will learn how to do the following:
- Use WebInput.NET Wizard to set WebInput's behavior.
 Prerequisites
In order to complete this walkthrough, you will need the following:
- Visual Studio 2005/2008/2010 Application.
Step-By-Step Instructions
To create masked input using Wizard
- Launch Visual Studio.NET 2008.
- Click on File menu, then select New and click Web Site.
- Select ASP.NET Web Site in the Template box and set Location to HTTP.
- Named the Web Site and click OK.
- Right-click on Project's name and select Add New Item.
- Select Intersoft AppForm in the My Templates box and named it as Walkthrough.aspx.
- Drag WebInput instance to the WebForm.
- Notice that WebInput.NET Wizard will automatically appear afterwards.
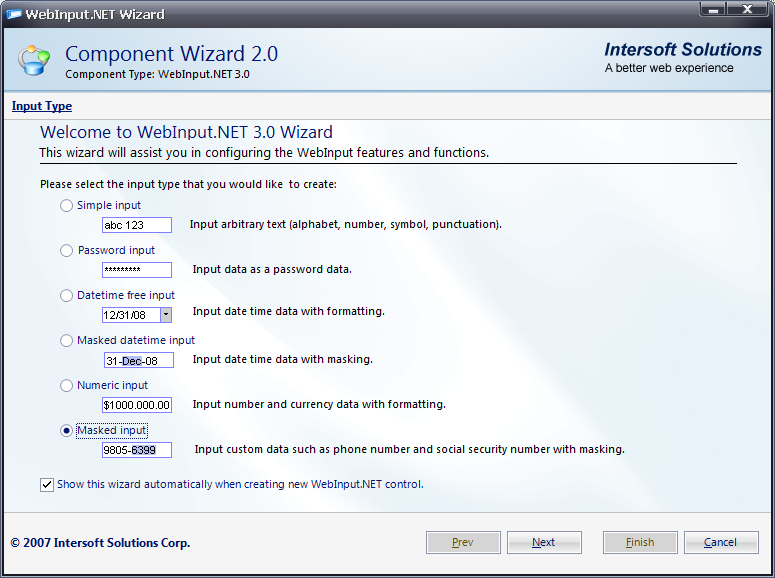
- In Input Type section, select Masked input to input custom data such as phone number with masking and click Next.
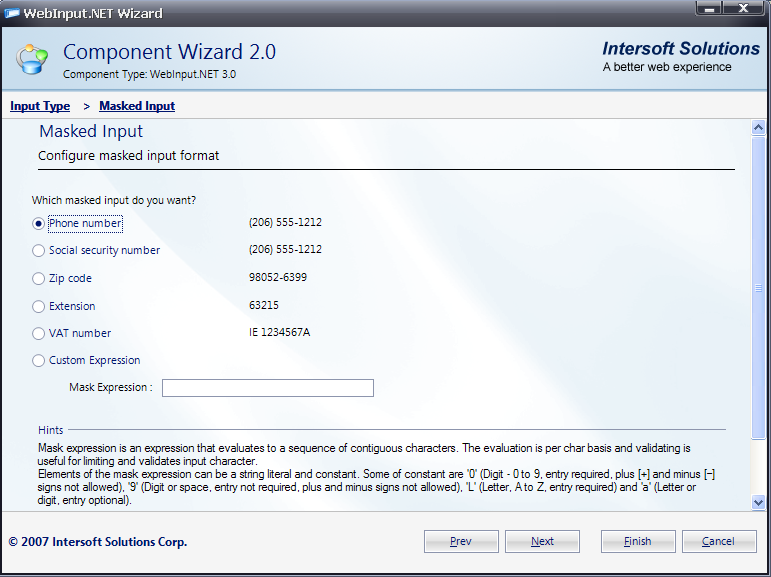
- You will go to the next section which is called Masked Input. In this section, you will be able to set any masked input format available, e.g. Set to Phone number. Click Next to go to next section.
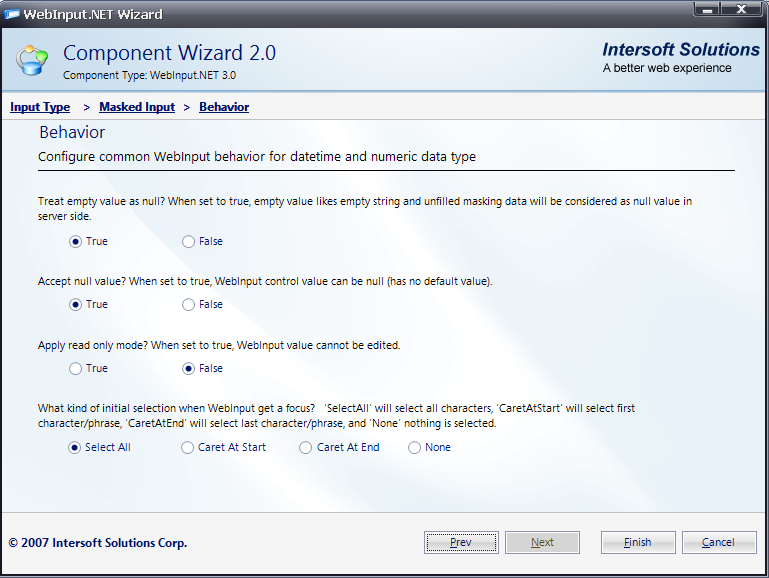
- This section is called Behavior. In here, you will be able to configure common WebInput's behavior related to DateTime and numeric data type. Click Finish to apply the settings.
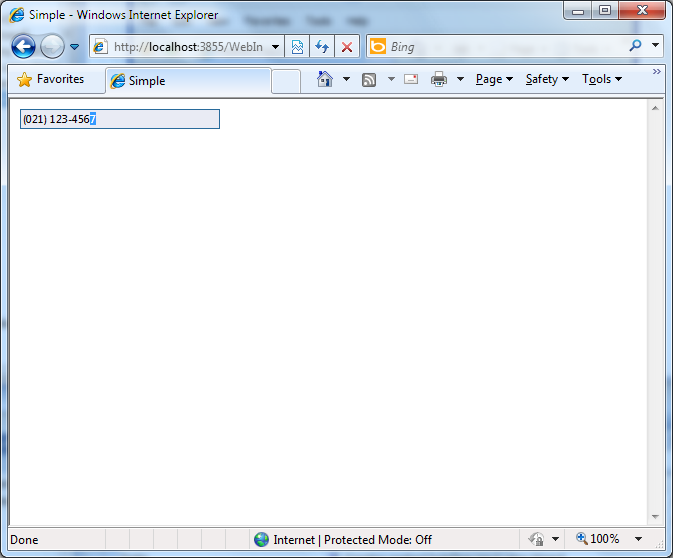
- Save and run the project. The WebInput will look like following.